

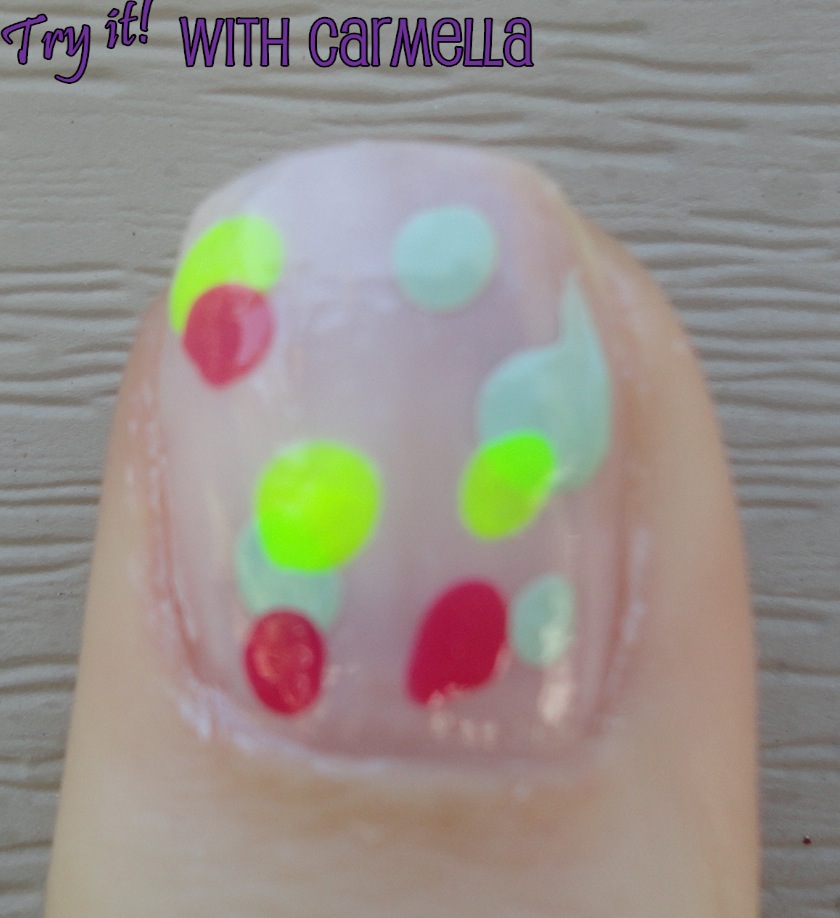
I wanted to try painting layered dots onto my nails, but it wound up looking more like regular dots. I did layer some dots, but not in the way I really planned to. Next time, I'll have to try a more specific design- perhaps one that borders one corner of each nail! I think if all the dots were in one area of the nail, it would look cool!
 |
| Bobby pins dipped in nail polish |
I used bobby pins! I simply bent one side of each bobby pin (to avoid making 2 dots at once). Once I bent the bobby pin, I stuck the bent end into my nail polish bottle. Once the pin was covered with nail polish, I just touched the tip onto my nail.
I found that being a bit more liberal with the amount of nail polish resulted in a better dot. I let each color dry before I applied a new color of dots. As you can see, I wasn't too patient in letting them dry and a few of the dots got smudged.
You can see my process of layers per each color here:
 |
| Step ONE |
 |
| Step TWO |
 |
| Step THREE |

No comments:
Post a Comment