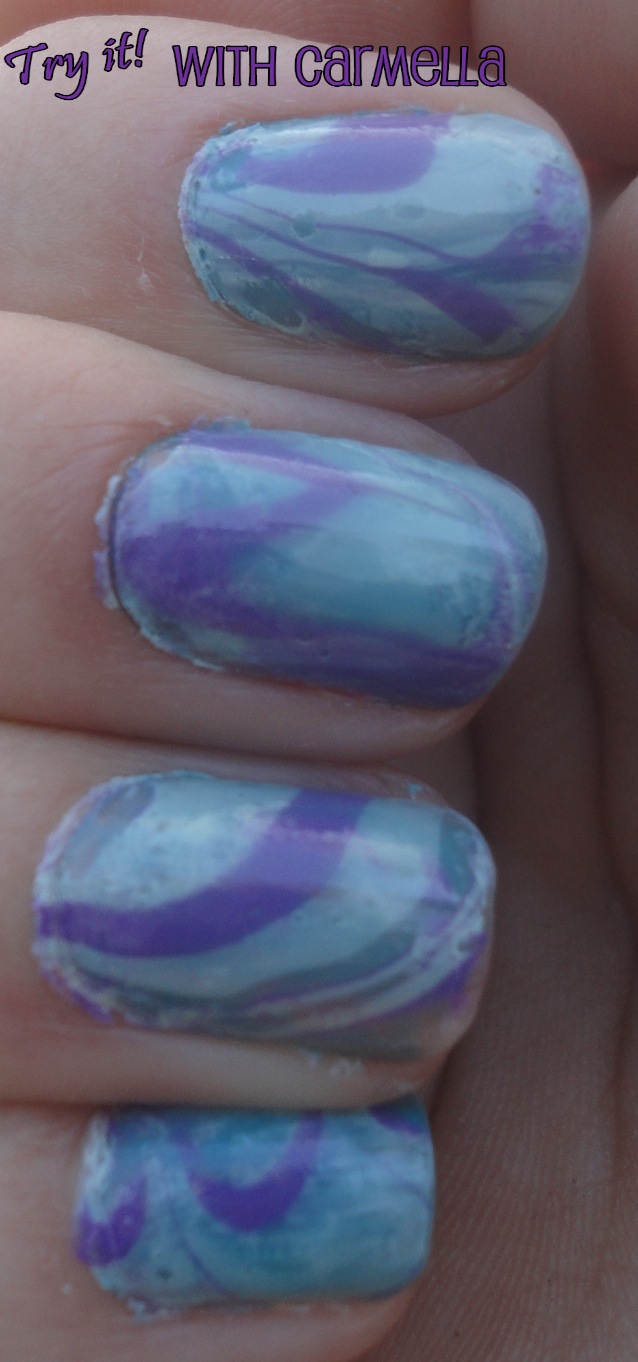
Water Marbled Nails! I can't tell you excited I was to try this trick out. I've been Pinning water marbling obsessively. It seemed so hard, but I gave it my first attempt and I swear it's not that hard. Clearly, my photos don't compare to most out there, but it was fun and looks cool!
Like suggested by most instructions, I set up all my supplies ahead of time so that everything was handy. Once everything was set up, I painted my nails a base coat of a chosen color.
Supplies:
2, 3, or 4 nail polish colors
paper/plastic cups
paper towels
nail polish remover
Q-Tips
toothpicks
big cup of water
vaseline
 |
| Supplies |
 |
| Base color coat |
I then filled 6 paper cups with water and let them adjust to room temperature. I had read that this helps the nail polish to spread easily, but who knows if that's true. (I had 6 cups out so I wouldn't have to keep waiting for each fresh cup of water to become room temperature).
Next, I prepared my finger by slathering vaseline over the cuticles, knuckle area, and underneath. This helped the polish to not stick to my skin. I did this one, or two fingers at a time. I did come out cleaner when I only did one at a time.
Now for the polish! I used China Glaze Re-Fresh Mint, Sinful Colors Verbena, and Sinful Colors Savage. I unscrewed each nail polish bottle so it'd be ready to work quickly. Then, I flung a drop of color into the water cup. Take each color you are using and flung another paint drop into the center of the circle within your cup (so as each dot expands, you put another color in the center). If ever the paint did not spread, I just shook the cup slightly to help things along.

Once you feel you've put enough layers of nail polish into the cup, take your toothpick and draw lines through the circles to create your own design. I found that making simple lines made a better design, rather than getting too creative.
I also found that light colors like pink did not work, so you'll see I had to add another color into the mix.
 |
| The 'clear' color here was the pink polish... so I had to replace it with another color. |
 |
| Results once I added purple polish and used my toothpick to create a design. |

Now, I was ready to dip! I took my prepped finger and stuck it into the cup. I sort of curled my finger as I placed it into the water so that my nail was almost flat on top of the water's surface as the nail dipped further into the water. Then, I removed my finger and saw a very messy area of skin.
 |
| Dipped finger. |
I took my dipped finger and wiped off the excess polish with my paper towel. The towel removed most of the mess and then I used a Q-Tip with nail polish remover to clean up the rest.
Once all the nails were dipped and cleaned, I did notice some bubbles and mess on my cuticles. Here's a first look:

 |
| Left pointer. |
After one day, the bubbles went away and my cuticle areas cleaned up. I also put a top coat of clear polish to finish things up. Here is my first attempt, final result of Water Marbled Nails!
 |
| Best one? |
Full hands:
 |
| Water Marbled Nails |
 |
| Right hand |
 |
| Left hand |
After thoughts:

I found that the less amount of polish layers I put in the cup, the better. It seemed when I placed too many that it limited the designs and made things too cluttered. I thought putting about 4 layers or polish drops total was better.
I suggest keeping an extra option or two out for additional nail colors. I found that pink didn't show up at all, but I had no way of knowing until I was in the process. Luckily, I just added in another color to take it's place.
I also think that next time I'd like to place my nail deliberately on a specific point of design, instead of just dipping my nail in. Although, it was fun to just wait and see what surprise would come out on my nail, next time I may go for a more planned looked!


 Once the scotch tape was in place, I rubbed the tape to secure it to my nail. Then, I painted the nail polish over my nail, overlapping with the tape to make sure the triangle shape was filled to the lines with polish. I lifted the scotch tape off my nail almost immediately after painting on the new polish.