Showing posts with label OPI. Show all posts

Tuesday, September 4, 2012

Birthday & Crackle Nails

I spent quite a while googling and pinning ideas for birthday nails and came across so many amazing designs. Between the birthday cakes, candles, and balloons, I was impressed. Well, needless to say, I do not do handmade painted designs- I just don't have that talent! So I needed something simple. I thought... hm ok birthday nails can mean glitter. But I'm not a glitter type of person.... so maybe something more metallic looking? I wound up doing a pretty boring birthday nail manicure, but here it is.

I used Wet'n'Wild Metallica for accent nails (thumb and ring finger) and then Sinful Colors This Is It for the rest. One day later, I was too bored with the results so I added OPI Black Shatter. I've used the Shatter before, which results in a Crackle nail look... but I've always been torn about the crackle look. Does it look cool? Or does it really just look like a chipped manicure? It's still up for debate in my mind. What is your opinion about Crackle nails?

Crackle Nails
Birthday Nails


Wednesday, July 18, 2012

Illuminate Swatch


Sorry for the poor quality photos!! I had to use my phone for this post.

This is just a simple swatch of Illuminate by OPI.  I thought it was a glitzed-up brown; sort of neutral yet different at the same time. Do you like it?

Tuesday, April 24, 2012

Red Water Marbled Nails

After my recent first attempt at water marbled nails (read my full instructions on the process
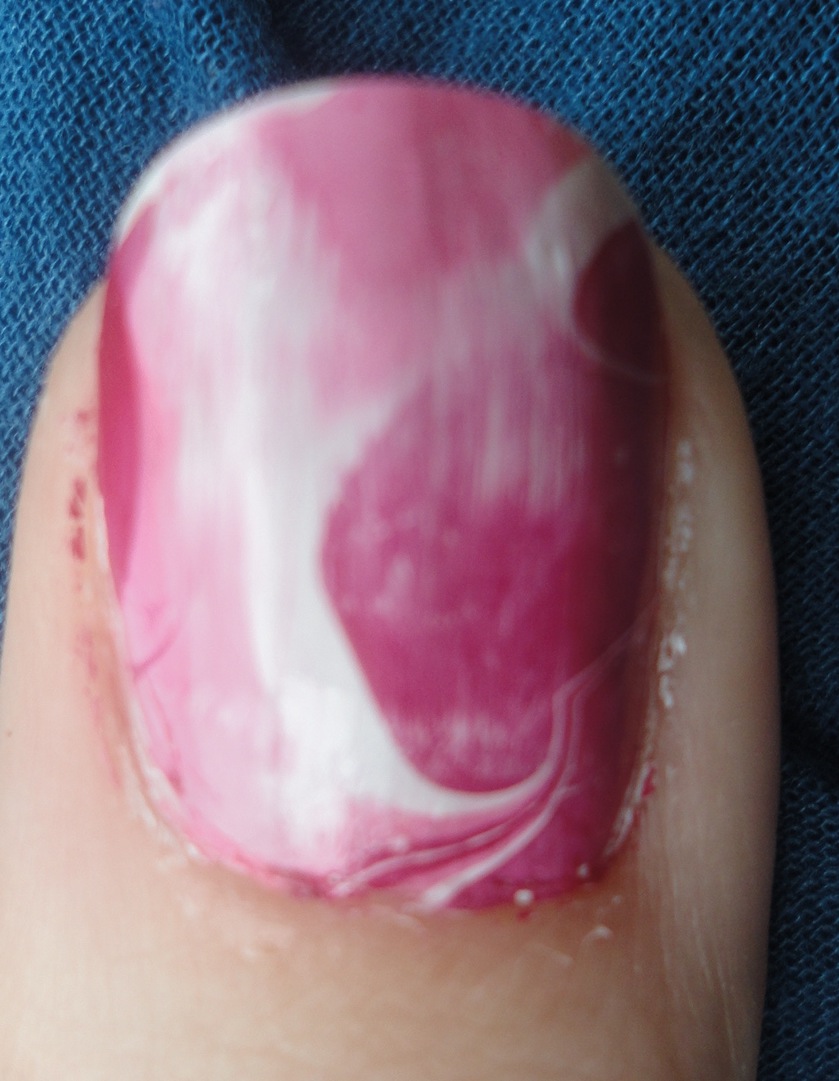
by clicking here ), I've been dying to try it again and again. For my 2nd attempt, I used OPI 'Feelin' Hot-Hot-Hot', NYC French White Tip, & Sally Hansen Berry Sweet.


 Again, I thought the water marbling process was fun and way easier than I thought it'd be. Here were my results:


The close-up look is still a bit messy because I clearly haven't mastered water marbling just yet. I tried to get specific water marbling designs on my nail, but I still couldn't quite figure that out.  But the general look of it is awesome!

Sunday, April 15, 2012

Nail Stencils

I've never done DIY nail stencils before, but just tried out Kiss Nail Artist Paint & Stencil Kit. Whomp, whomp- this seems cool but looked pretty horrible when I tried it! I do think if you use each stencil only once, then it can give you a great look. But that wasn't what I was going for when I tried it.

The Kiss Nail Artist Paint & Stencil Kit was under $10 at Walgreens. When I tried this, I wanted each nail to have a stencil design.
(Some people probably only put a stencil design on the ring finger.) The kit comes with two sheets of different stencil designs. Some are lines, shapes, swirls, or flowers. However, each design is only provided once. Each stencil has a little tab on the end to help with executing the look. The kit also comes with 3 nail polishes that have thin brushes, rather than the typical brush applicator.

First, I painted my basecoat color with OPI 'Feelin' Hot-Hot-Hot.'
After my nails dried, I placed a stencil on one nail. I had to press it down to stick onto my nail and it's basically like a sticker. Then, I took the white polish and painted on top of the stencil. Then, I pulled off the stencil using the tab provided. I figured pulling it off before it dried would make most sense.

After stenciling my ring fingers, I realized my stencil was falling apart. It's really thin and basically just paper so the polish started wearing away at the stencil itself. After doing two nails, I realized this stencil had seen its day. I had to move on. So, for my other fingers, I tried another stencil. Since I stuck to one stencil for the rest, each nail got messier and messier. You can tell from my pictures which nails were done first and which were done last. The last nails are so messy and horrible because the stencil really just couldn't be used at that point!
First nail: Looking fine.
Last nail: Looking horrible!
Check out the first nail in comparison to the last nail. I should say clean cut verses messy!


All in all, I did a pretty horrible job with The Kiss Nail Artist Paint & Stencil Kit. What I would suggest to other users trying this out is to only use each stencil one time on one nail. Here was my end result:

Sunday, April 8, 2012

Blue Water Marbled Nails


Water Marbled Nails! I can't tell you excited I was to try this trick out. I've been Pinning water marbling obsessively. It seemed so hard, but I gave it my first attempt and I swear it's not that hard. Clearly, my photos don't compare to most out there, but it was fun and looks cool!

Like suggested by most instructions, I set up all my supplies ahead of time so that everything was handy. Once everything was set up, I painted my nails a base coat of a chosen color.

Supplies:
2, 3, or 4 nail polish colors
paper/plastic cups
paper towels
nail polish remover
Q-Tips
toothpicks
big cup of water
vaseline

Supplies
Base color coat
I then filled 6 paper cups with water and let them adjust to room temperature. I had read that this helps the nail polish to spread easily, but who knows if that's true. (I had 6 cups out so I wouldn't have to keep waiting for each fresh cup of water to become room temperature).

Next, I prepared my finger by slathering vaseline over the cuticles, knuckle area, and underneath. This helped the polish to not stick to my skin. I did this one, or two fingers at a time. I did come out cleaner when I only did one at a time.

Now for the polish! I used China Glaze Re-Fresh Mint, Sinful Colors Verbena, and Sinful Colors Savage. I unscrewed each nail polish bottle so it'd be ready to work quickly. Then, I flung a drop of color into the water cup. Take each color you are using and flung another paint drop into the center of the circle within your cup (so as each dot expands, you put another color in the center). If ever the paint did not spread, I just shook the cup slightly to help things along.

Once you feel you've put enough layers of nail polish into the cup, take your toothpick and draw lines through the circles to create your own design. I found that making simple lines made a better design, rather than getting too creative.

I also found that light colors like pink did not work, so you'll see I had to add another color into the mix.

The 'clear' color here was the pink polish... so I had to replace it with another color.

Results once I added purple polish and used my toothpick to create a design.
Now, I was ready to dip! I took my prepped finger and stuck it into the cup. I sort of curled my finger as I placed it into the water so that my nail was almost flat on top of the water's surface as the nail dipped further into the water. Then, I removed my finger and saw a very messy area of skin.
Dipped finger.
 I took my dipped finger and wiped off the excess polish with my paper towel. The towel removed most of the mess and then I used a Q-Tip with nail polish remover to clean up the rest.

Once all the nails were dipped and cleaned, I did notice some bubbles and mess on my cuticles. Here's a first look:

Left pointer.

Middle finger


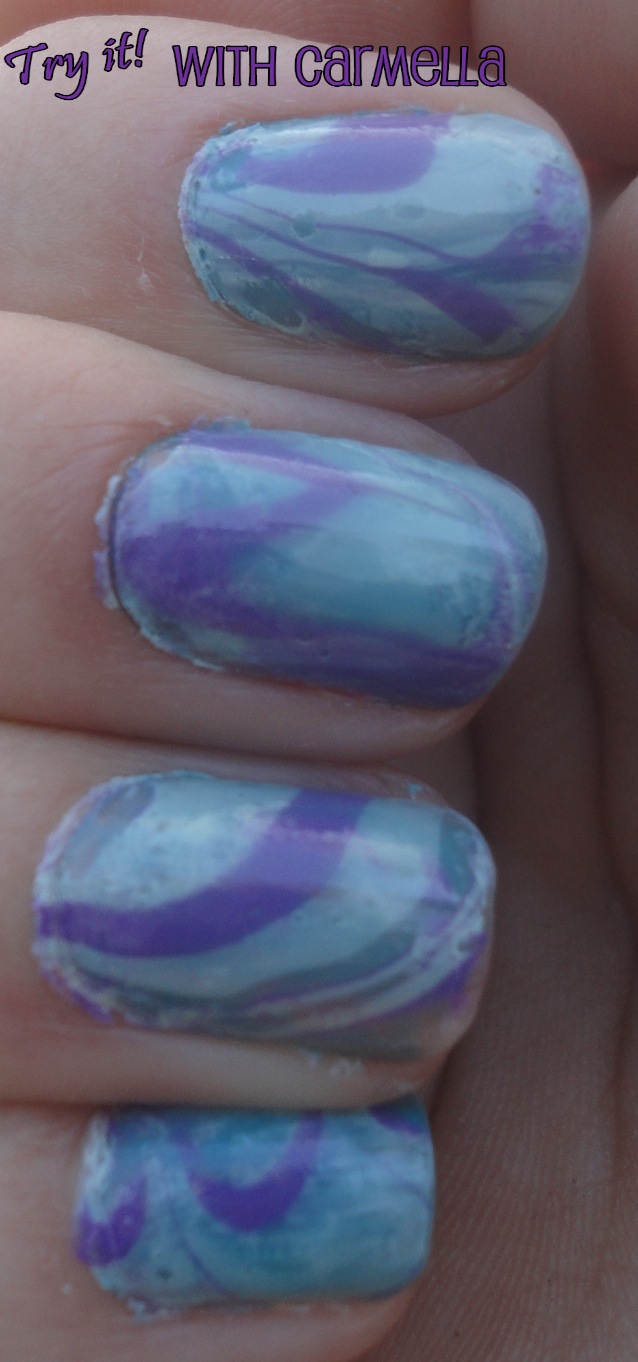
After one day, the bubbles went away and my cuticle areas cleaned up. I also put a top coat of clear polish to finish things up. Here is my first attempt, final result of Water Marbled Nails!


Best one?


Full hands:
Water Marbled Nails

Right hand
Left hand

After thoughts:

I found that the less amount of polish layers I put in the cup, the better. It seemed when I placed too many that it limited the designs and made things too cluttered. I thought putting about 4 layers or polish drops total was better.

I suggest keeping an extra option or two out for additional nail colors. I found that pink didn't show up at all, but I had no way of knowing until I was in the process. Luckily, I just added in another color to take it's place.

I also think that next time I'd like to place my nail deliberately on a specific point of design, instead of just dipping my nail in. Although, it was fun to just wait and see what surprise would come out on my nail, next time I may go for a more planned looked!