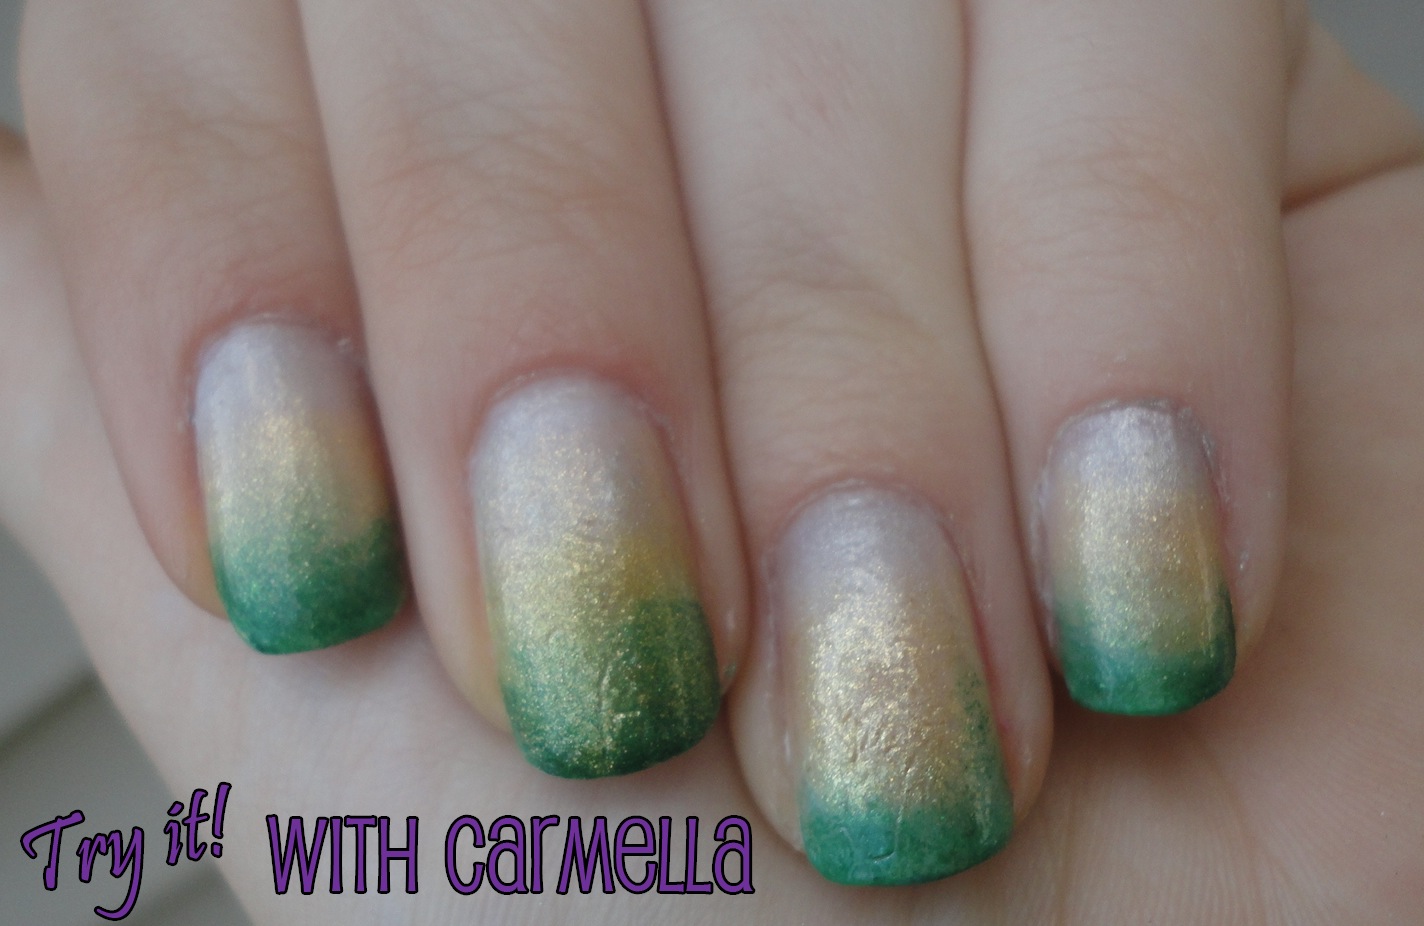
I just tried Sponge Nails! My friend saw this idea online and I was intrigued! My first attempt at Sponge Nails went pretty well. I do have to say, the edges of my nails started to chip pretty early on. I'm not sure if this was because of the polish brand quality or because of the technique used, but the color started to go away pretty early on. However, it was really easy and looked very clean for the first few days. It got a lot of compliments too. This technique does not take a lot of skill, so it's easy to try!
You can use as many colors as you'd like, but I painted a white base coat and then used 3 colors for the sponge: Last Chance by Sinful Colors, Metallica by Wet'n'Wild, and This Is It by Sinful Colors. The silver was almost invisible at first glance, but it's there! You can also place the lines in other directions- diagonally, horizontally, or vertically- for totally different looks.
How To:
I took a make-up applicator sponge and cut it with scissor so that one piece was roughly the size of my nails and another piece was roughly the size of my thumb nails. Then, I took my 3 nail polish colors and unscrewed the tops. Then, I just painted lines of each color onto the sponge. I did a few layers of nail polish for each color so that the paint was pretty thick on the sponge.
Once the nail polish was applied to the sponge, I just stamped the sponge onto my nail. I also tried rolling the sponge onto my nail from one side to the other. Both ideas worked for almost the same result. I could also stamp the sponge over the first try of the application to fix any spots on the nail I missed or to blend things more between the change-over of colors. I had to reapply the polish onto the sponge for each new nail.
I sort of liked blending the colors for more of an ombre look instead of strict, harsh lines separating each color. It gave my nails a cool look where the colors were prettier. Placing the dark color on the tip of the nail also made my nails look a bit like I had actual tips on them. At a glance, it looked like a reverse French manicure.
This process was fast and easy and I would definitely try it again with other color combinations and other directions of the nail polish placement.